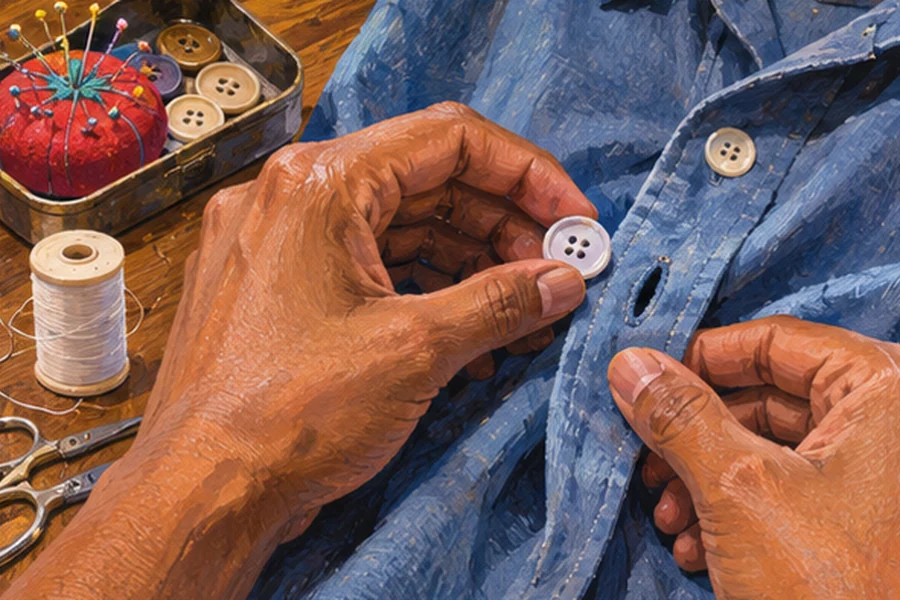
- Check the buttonhole and the condition of the garment before choosing a replacement.
- Use nearby buttons to match the placement, thread pattern and space under the button.
- Fasten the garment to test the repair before putting the sewing kit away.
Inside this story 2 perspectives
A button comes off a shirt and goes into a drawer for safekeeping. The shirt goes into a different pile. Weeks later, finding the right pair again can take longer than the repair. A mending session offered by the Somerset County Library System in New Jersey on 3 November asked people to bring an item needing attention. A shirt with its missing button is a good example of a job that benefits from having every part on the table.
The drop-in session at the Somerset Business Hub in Somerville was scheduled from three to half past four. Its list of possible repairs included a missing button, a torn seam and a hole in the knee of a pair of jeans. Those are three different sewing problems. For a first attempt, a flat shirt button with intact fabric underneath gives the simplest way to tell immediately whether the repair works.
Begin by looking at the other buttons. Are they the same diameter as the one you plan to use? Do the stitches cross or run in parallel pairs? Is there a little space under the button for the edge of the buttonhole to sit? If the original is lost, a replacement needs to pass through the opening and stay there when the shirt moves.
Find the spot before threading the needle
Lay the shirt flat and line up the front edges as they would sit when fastened. The remaining buttons and any visible old stitch marks help locate the missing one. Check the fabric at that spot. If it has torn away, sewing repeatedly through the damaged edge is unlikely to hold. Repairing or reinforcing the fabric is a separate first task.
For a straightforward four-hole button, thread a needle with a suitable thread, knot the end and start from the underside of the garment. Bring the needle through one hole and take it back through another and the fabric. Repeat across each pair in the pattern used on the rest of the shirt. Keep the button in position while leaving enough space underneath for the fabric that will fasten over it.
Test what you have sewn
On the final pass, bring the thread out between the button and the cloth. Wrapping it around the stitches there forms a short thread shank. Secure the end on the underside and trim it. Woolmark and the Patagonia repair guide both illustrate the sequence if the route of the needle is easier to follow in pictures.
Now button the shirt. The fronts should meet without pulling one side higher, and the button should stay closed without a struggle. If the repair works, take one last look at the neighbouring buttons. A few loose stitches are easier to deal with now than another button and another search through the drawer.